Showing posts with label Copper. Show all posts

Thursday, January 2, 2014

Make a Ring from Scrap Wire & a Bead


wire wrapped ringsRings are a great fashion accessory. Rings require little metal and are a great project to make with limited resources. You can make a wire wrapped ring using scrap wire leftover from other projects and a bead or two.  

Materials
16-gauge copper wire
Lampwork glass bead(s),


Tools
Ring mandrel
Raw hide hammer or plastic mallet,
Cup burr or needle file
Tumblerstainless steel shot (optional)

Step 1
Assemble your tools and materials. In our example, we used 16-guage copper wire, but scrap wire in gold, silver, brass or any other nonferrous metal can be used to make a ring. Similarly, different gauge wires can be substituted if you want a ring with a finer or heavier look. Select the lampwork bead, checking to be sure the wire will fit through the bead.

Step 2
Check ring size
Measure your finger or the finger of the person for whom you would like to make the ring.  Use a ring that fits well and slide the ring onto the ring mandrel to measure ring size if you do not have a ring sizer.

Step 3
Slide the focal bead onto the wire.

Step 4
Wrap the wire around the ring mandrel the number of times needed for your wire wrapped ring. Fit the wire through the bead each time you wrap. In our example, we show rings with one, two and three wraps.

sizing a wire ringStep 5
Check the ring as you work to be sure the ring is sized  correctly.

Step 6
Stop wrapping with the ends of the wire close to the bead. Tuck the wire ends under the bead and trim any excess.

You can also bend the ends of the wire up to hold the bead so that they look like prongs. If you chose to use the prong method for your wire wrapped ring, then be sure to file the prong tips with a cup burr or needle file so that the prongs are not sharp.

Step 7
Harden the wire of your wire wrapped ring so the ring will maintain its shape. Harden the wire by hitting the wire with a raw hide hammer or plastic mallet. You can also place the completed wire wrapped rings into a tumbler with stainless steel shot to burnish and harden the wire so the wire wrapped rings hold their shape.

Happy Beading!

Thursday, December 22, 2011

Make A Dreidel Bracelet

Before: Dreidel
It's Chanukah and there are many dreidels floating around the house. Gather a few extras and create a fun bracelet to celebrate the holiday.

Happy Chanukah!

Materials
Dreidels
16-gauge copper wire

Tools
Size 52 drill bit
Flex shaft, Dremel or drill press
14-gauge cup burr or wire rounder
Needle files

Order the dreidels
Step 1
Select the dreidels and arrange them in the order you like. We used seven dreidels but the number you need will depend on the size of the dreidels. The size links you make and the length you need for your bracelet.

Wash the dreidels with soap and water. Some of our dreidels had smudges of chocolate on them since some of the game players ate their loot.

Mark the dreiel
Step 2
Drill the dreidel
Mark the dreidel with a center punch and then drill a hole in the dreidel to create a bead.

Step 3
Feed the wire through the dreidel. Use pliers to create a medium sized loop on either side of the dreidel.

Step 4
Assemble the bracelet. Attach the dreidels link by link until the bracelet is the desired length.

Step 5
Make the hook and eye clasp. Make a few chains of links to create several eyes so the bracelet is  adjustable.

After: Dreidel Bracelet by GeltDesigns.com
Step 6
Attach the hook and eyes of the clasp to the bracelet.

Related Tutorials
Make Chanukah Menorah Earrings from Plastic Bottle Caps
Make a Dreidel Pendant
Make Dreidel Earrings 

Further Reading
"500 Judaica: Innovative Contemporary Ritual Art (500 Series)"; Ray Hemachandra, Daniel Belasco.
"500 Bracelets: An Inspiring Collection of Extraordinary Designs (500 Series)"; Lark; 2005.

Jewelry from Found Objects.  $ spent to date: 0
Found materials: dreidels, sivivon
New Jewelry a Day.

Wednesday, March 30, 2011

Make a Pendant from Enameled Piping

We are still playing with pipes! Today we took one of the copper enameled beads we made using pipe and used the bead as the focal point in a pendant.

Before: Enameled pipe, scrap wire
Materials
Copper enameled bead
2 sterling silver beads
Sterling silver scrap wire-- 18 gauge & 20-gauge
Smokey quartz bead

Tools
Nylon jaw chain nose pliers
Round nose pliers
Chain nose pliers
Flush  wire cutter
Barrett needle file

Step 1
Locate scrap sterling silver wire from the scrap bin. Use the nylon jaw pliers to straighten out the scrap wire.

Step 2
Feed a sterling silver bead on the the 18-gauge wire, followed by the copper enameled bead and another sterling silver bead. Wrap the end of the wire to secure the beads. Trim excess wire, if any, with a wire cutter. File the ends smooth using a barrette needle file.

Select bead for drop
Step 3
Sort through the bead collection to locate a center-drilled bead. Make a loop at the end of the 20-gauge wire to form a head pin. Feed the center-drilled smokey quartz bead on the prepared 20-gauge wire head pin. Create a loop above bead and attach the 20-gauge wire to the 18-gauge wire. Wrap the wire to secure.

Step 4
After: Enamel pendant by GeltDesigns.com
Slide the pendant onto the chain. We used a neck-ring we made from 14-gauge sterling silver wire, but any chain will do.

Related Project Tutorials
Turn a Pipe into Enamels Beads
Make Earrings from Copper Pipe and Wire
Make an Enamel Necklace from a Copper Pipe
Make a Beaded Bracelet with Copper Pipe & Wire
Make a Neck-Ring from Copper Pipe
Make a Bangle Bracelet from a Copper Pipe

Related Skills Tutorials
How to Make A Simple Head Pin
How to Make an Eye Pin
How to Make a Paddle Head Pin
How to Straighten Wire
Make Your Own Beaded Drop
Make Your Own Wire Wrapping Tool Kit

Further Reading  
"Making Designer Bead and Wire Jewelry: Techniques for Unique Designs and Handmade Findings"; Tammy Powley; 2005.
"The Complete Photo Guide to Jewelry Making: More than 700 Large Format Color Photos"; Tammy Powley; 2011.

Month 5. Jewelry from Found Objects.  $ spent: 0
Found materials: Copper pipe, scarp wire, orphan beads
New Jewelry a Day.  

Tuesday, March 29, 2011

Turn a Pipe into Enamels Beads

Before: Copper pipe
We love playing with copper pipes. For only a few dollars you can purchase a long length of copper pipe to make into all sorts of jewelry. We are lucky. We had quite a bit of copper pipe left over from a kitchen renovation. Apparently, we did not need a huge length of pipe to connect our fridge. So we have quite a bit of pipe to use for NJAD projects. Yay.

Today we decided to cut up pieces of pipe and use those pieces to make enamel beads. We had two choices when enameling the copper pipe beads. We could use our kiln or we could use our torch. Both methods produce different results. We opted to torch fire the enamel beads because we wanted a more organic feel.

We will show you how we use the copper enamel beads we made in another upcoming NJAD blog entry.

Materials
Copper pipe
Thompson's enamel for copper

Tools
Jewelry saw & blades
Half-round file
Wet/dry sandpaper
Torch
Soldering tripod or trivet

Mark copper pipe
Step 1
Mark the pipe with a marker or scribe. Use a jewelry saw to cut pieces of pipe.

Cut copper pipe with jewelry saw
Step 2
File and then sand the edges of the cut beads until smooth.

Step 3
Clean the copper beads with acetone and then rinse with water (to remove acetone residue). Enamel will not "stick" if the copper is not completely clean.

Step 4
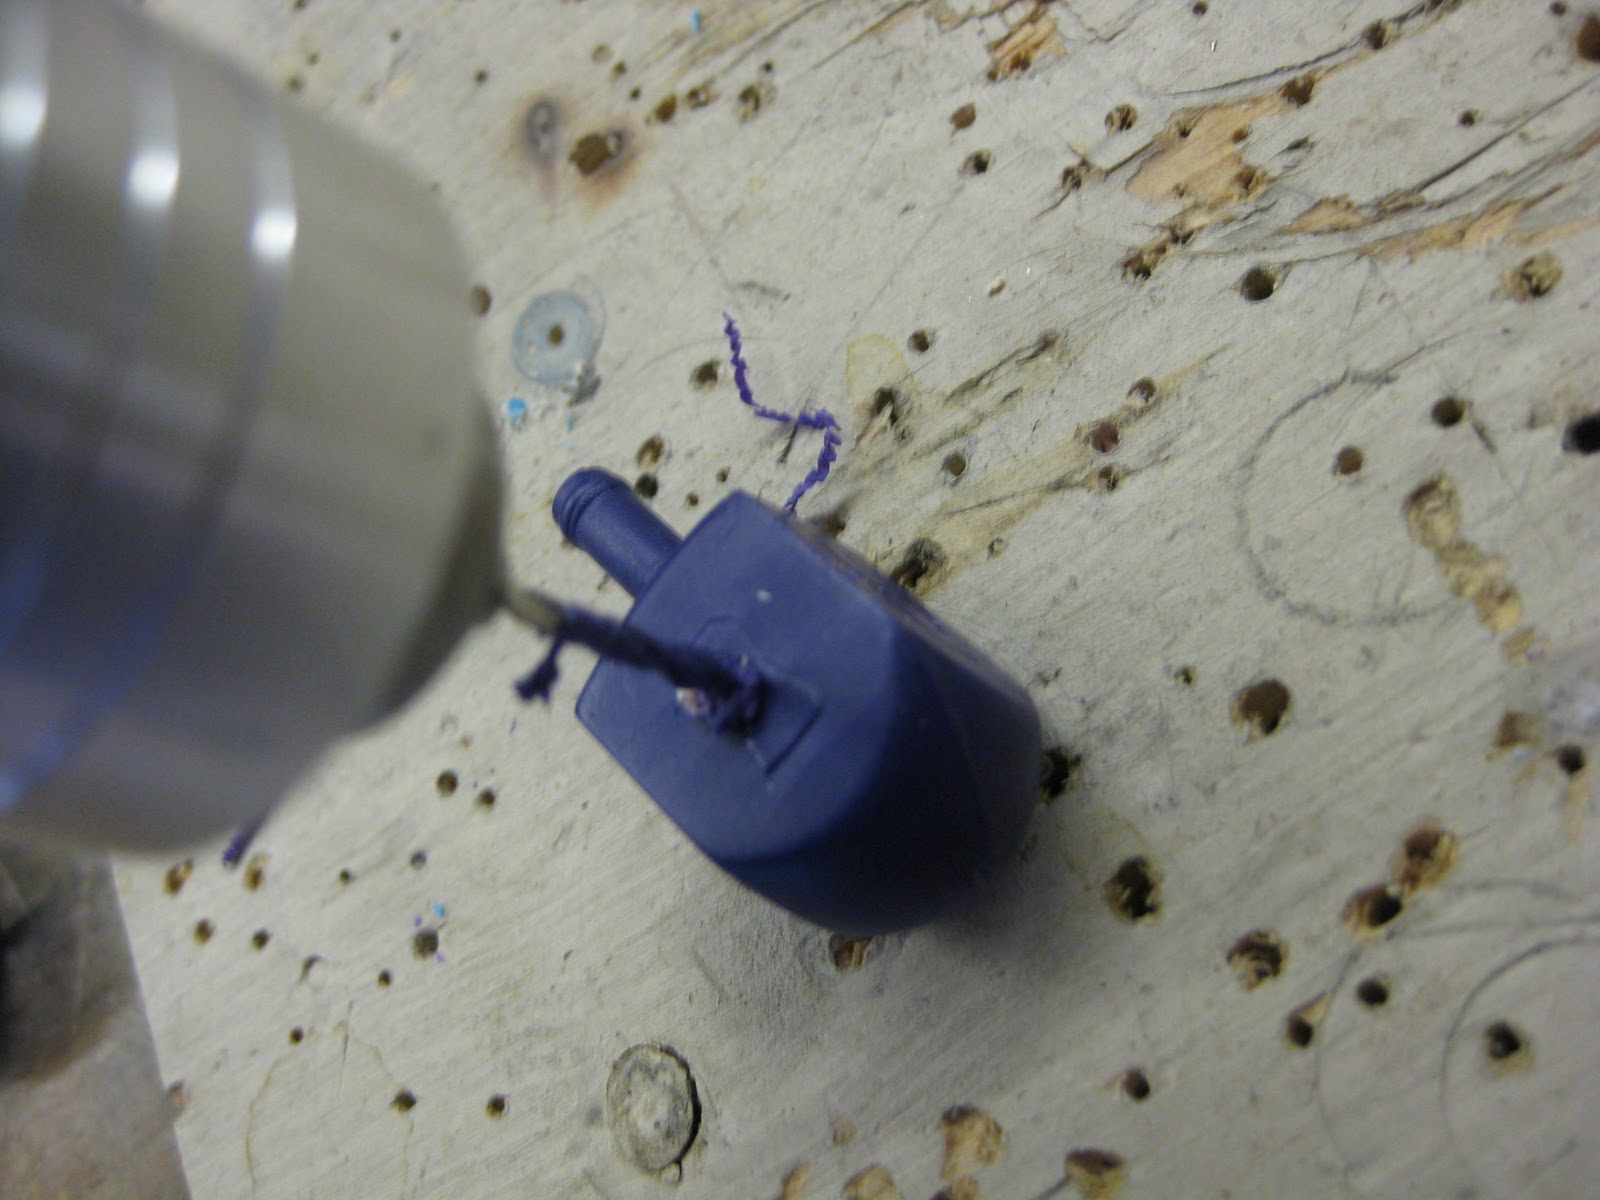
Spray the copper bead with Thompson's Klyr-Fire so the enamel powder will better "stick" to the copper pipe.

Step 5
Place the enamel powder in a sifter and sift the enamel evenly over the copper pipe. Let the enamel dry on the pipe before firing. NOTE: You can hasten the drying by waiving the torch over the enameled pipe.

Step 6
Place the enamel covered pipe on a trivet or soldering tripod.

Step 7
After: Torch enameled beads by GeltDesigns.com
Heat the copper enamel covered pipe from beneath the tripod. Continue to hold the the torch under the enamel pipe. Watch the enamel fuse to the copper. The same phases of fusion occur in both kiln firing and torch firing. At first the enamel will look sugar-coated, then the enamel will begin to look like an orange peel, then the enamel will reach a smooth, fully fused state and, finally, the enamel will look over-fired. The phases of enamel fusion happen very quickly when torch firing so watch the enamel closely. Stop heating the enamel and remove the torch once the enamel is fused to the look you seek.

The flame of the torch can produce a smokey iridescent look. Sometimes the smokey look is desirable (as it looks a lot like raku firing on ceramics), other times it is not. Since we wanted an organic look, we allowed the enamel to fuse until it was slightly over-fired achieving a "raku" look.

Tip: You can fire enamel multiple times until you get the look you want. To get rid of the discoloration on one side of the enamel (or to change the surface of the enamel from smooth to orange peel), just turn the piece over and re-fire from the bottom. The front surface should clean up.

Step 8
Clean up the copper edges of the beads. Remove oxidation with files and sandpaper to prepare to use the beads in jewelry making.

Related Tutorials
Make Earrings from Copper Pipe and Wire
Make an Enamel Necklace from a Copper Pipe
Make a Beaded Bracelet with Copper Pipe & Wire
Make a Neck-Ring from Copper Pipe
Make a Bangle Bracelet from a Copper Pipe

Further Reading
"The Art of Enameling: Techniques, Projects, Inspiration by Linda Darty"; Linda Darty; 2009.
"The Art of Fine Enameling"; Karne L. Cohen; 2004.
"First Steps in Enameling"; Jinks McGrath; 2003.
"The Jeweler's Directory of Decorative Finishes: From Enameling and Engraving to Inlay and Granulation"; Jinks Mc Grath; 2005.

Month 5. Jewelry from Found Objects.  $ spent: 0
Found materials: Copper pipe
New Jewelry a Day.